 DripTick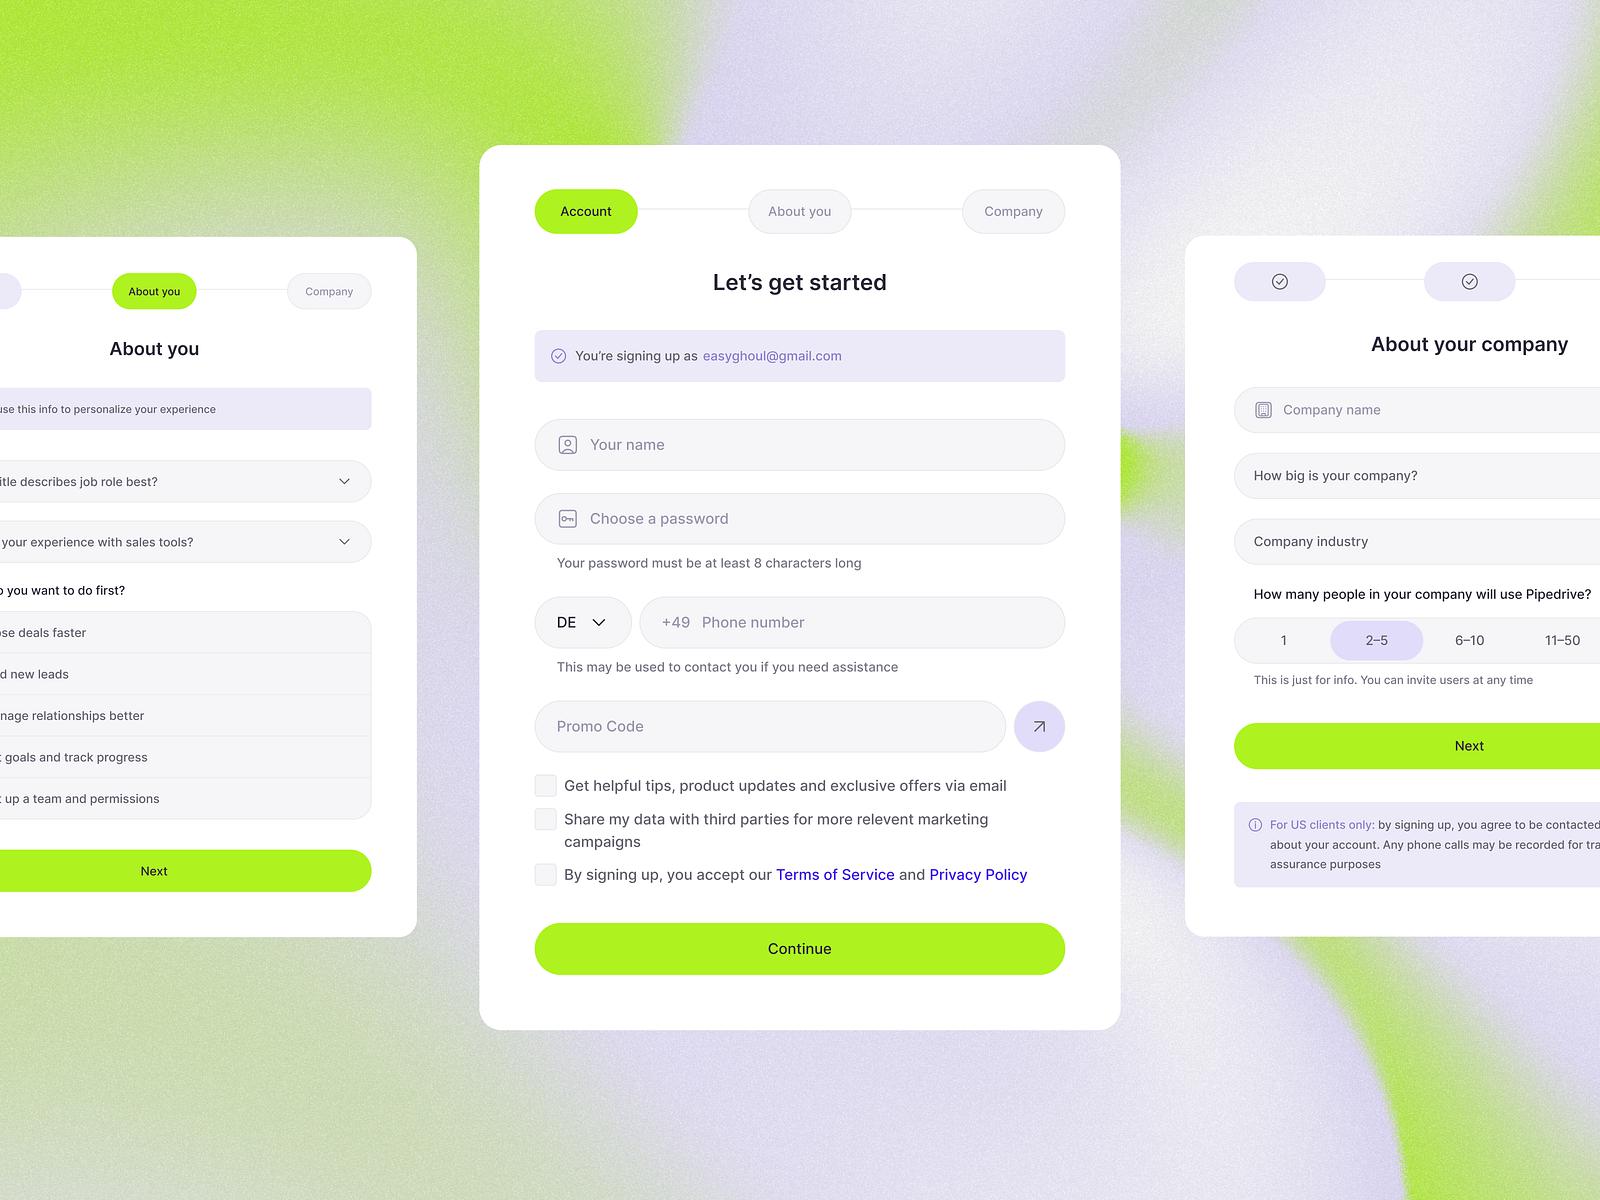
Getting a new client is exciting.
Then the real work begins.
You need to confirm the scope, collect information, get files and access, send the right documents, schedule the kickoff, explain how communication will work, and make sure everyone knows what happens next.
And somehow, in the middle of all that, you're still supposed to make the client feel like they've made the right decision by hiring you.
That's where a client onboarding checklist becomes useful.
Not because you need another list of administrative tasks.
Because a repeatable onboarding process makes sure the important things happen in the right order, for every client.
A good checklist helps you avoid the classic problems:
- "I forgot to ask for the logo."
- "Which email address should I send this to?"
- "We still don't have access to their analytics."
- "I thought they had approved the timeline."
- "Did we ever send them the onboarding form?"
- "Where did they upload those files?"
- "What exactly are we supposed to do next?"
More importantly, it helps your client avoid feeling like they're being passed from one request to another.
Current client-onboarding guides increasingly structure the process around phases such as closing the deal, gathering information and assets, setting expectations, kicking off the project and establishing early milestones.
The checklist below brings those pieces together into a practical workflow you can adapt to almost any freelance, agency, consulting, coaching or other professional or procurement business.
What is a client onboarding checklist?
A client onboarding checklist is a repeatable list of tasks, information, documents, decisions and setup steps that take a new client from "we're working together" to "the project is ready to begin."
It can include things you do internally, things the client needs to complete, and things both sides need to agree on.
A typical client onboarding process might* cover:
- Confirming the engagement
- Welcoming the client
- Confirming scope and expectations
- Collecting client and project information
- Gathering files, assets and access
- Establishing communication and approvals
- Setting up the project
- Holding the kickoff
- Confirming the first milestone
- Moving into delivery
*The exact steps depend on your business.
A freelance designer doesn't need the same onboarding process as a marketing agency.
A coach doesn't need the same information as a web developer.
An accountant doesn't need the same client portal as a creative studio.
So the goal isn't to copy somebody else's 40-step checklist.
The goal is to create a repeatable version of your own process.
Why use a client onboarding checklist?
Without a checklist, onboarding tends to depend on memory.
And memory is a terrible project-management system.
You might remember to ask for the client's logo on one project and forget it on another.
You might always explain your communication process—until you're busy and accidentally skip it.
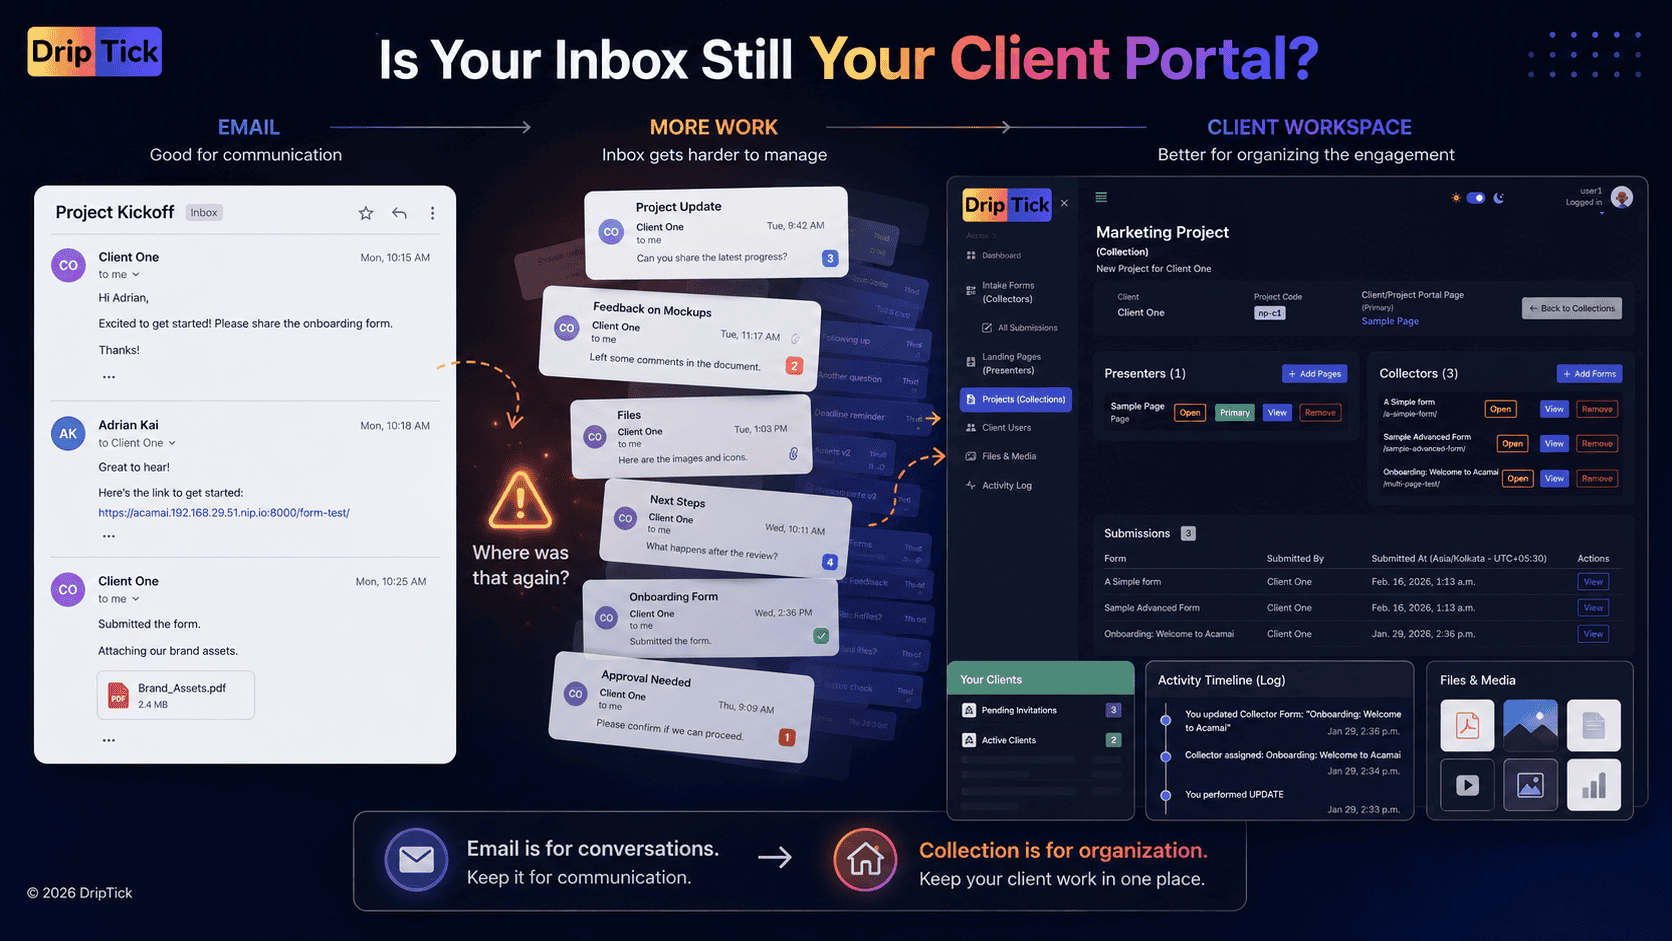
You might collect all the right information, but in five separate email threads.
A checklist creates consistency.
It helps you:
Avoid missed information
You know exactly what needs to be collected before work begins.
Reduce back-and-forth
Clients receive clearer, more complete requests rather than a series of emails asking for one additional thing at a time.
Set expectations early
Communication channels, deadlines, approvals and responsibilities can be agreed before they become problems.
Start projects faster
The team isn't waiting for one missing asset or piece of information that nobody remembered to request.
Deliver a more professional experience
The client sees a process rather than a collection of ad-hoc requests.
And that last point is easy to underestimate.
Your onboarding process is one of the first tangible experiences a client has of how your business operates.
The complete client onboarding checklist
You can adapt the following checklist to your own business.
I've divided it into six stages because a useful checklist should follow the actual journey rather than simply becoming a long list of unrelated tasks.
Phase 1: Close the loop
Immediately after the client says yes
Before asking the client for anything else, make sure the engagement itself is clear.
Business-side checklist
Confirm the agreed scope
Confirm deliverables
Confirm pricing and payment terms
Confirm the project/start date
Confirm important deadlines
Make sure the agreement or contract is completed
Record the primary client contact
Identify additional stakeholders or decision-makers
Create the internal project
Assign responsibility for the engagement
Client-facing checklist
Send a welcome message
Thank the client for choosing to work with you
Explain what happens next
Tell them what information or assets you'll need
Give them a clear starting point
Tell them who to contact if they have questions
Don't underestimate that last item.
A client shouldn't have to wonder:
*One question to eliminate*
“Am I supposed to reply to this email, fill something out, or wait for someone to contact me?”
Give them a clear next action.
Phase 2: Collect the essentials
This is usually where onboarding starts becoming messy.
You need information from the client, but the client is busy.
If you ask for ten things through ten different emails, you're effectively turning the client into your project administrator.
Instead, identify the information you actually need.
Business information
Depending on the project:
Business/company name
Website
Primary contact information
Industry
Location or target market
Relevant business links
Project information
Project goals
Desired outcomes
Target audience
Existing problems
Requirements
Scope-specific questions
Important deadlines
Success criteria
Brand information
For projects where branding matters:
Logo
Brand guidelines
Colours
Fonts
Brand voice
Existing marketing materials
Examples of preferred work
Files and assets
Images
Documents
Existing content
Product information
Brand assets
Reference materials
Access
Where relevant:
Website access
Analytics access
Advertising accounts
Social accounts
Hosting/domain access
Other project-specific platforms
Never ask clients to send passwords through an ordinary form or email. Use an appropriate password manager or secure access-sharing method for credentials.
The important principle is:
*One question to eliminate*
“Am I supposed to reply to this email, fill something out, or wait for someone to contact me?”
Phase 3: Turn the information request into an experience
Here's where a basic checklist starts becoming a better onboarding system.
There's a big difference between:
"Please complete this 35-question form."
and:
"Let's get your project set up."
The first feels like administration.
The second feels like progress.
For simple projects, a short form may be enough.
For more complex projects, break the information into logical sections.
For example:
About your business
Business details and background.
About your audience
Who the project needs to reach.
About the project
Goals, requirements and expectations.
About your brand
Visual identity, tone and existing materials.
Your files
Upload the assets required to begin.
Final details
Anything else the project team should know.
This makes a large amount of information feel like a series of manageable steps rather than one enormous questionnaire.
It also makes it easier for you to determine what information is actually missing.
Phase 4: Set expectations before the kickoff
A surprising amount of project friction comes from assumptions.
The client assumes something.
You assume something else.
Nobody notices until three weeks later.
Your onboarding checklist should therefore include the things that define how the relationship will work.
Communication
Primary communication channel agreed
Main point of contact identified
Expected response times explained
Meeting/call cadence agreed if applicable
Feedback and approvals
Who provides feedback?
Who has final approval?
How should feedback be submitted?
What happens if multiple stakeholders disagree?
Expected review turnaround agreed
Project process
Major milestones explained
First milestone confirmed
Client responsibilities explained
Dependencies identified
Important deadlines documented
Scope
Deliverables confirmed
Out-of-scope work explained
Revision process explained
Change-request process explained
This part of onboarding is less about collecting information and more about preventing future misunderstandings.
Phase 5: Create a clear client workspace
At this point, you've collected information.
You've established expectations.
Now ask:
Where does the client go from here?
If the answer is:
"I'll find the information in our email thread."
you have an organizational problem.
A client shouldn't have to search through old messages to find:
- project information
- onboarding instructions
- forms
- resources
- important links
- updates
- next steps
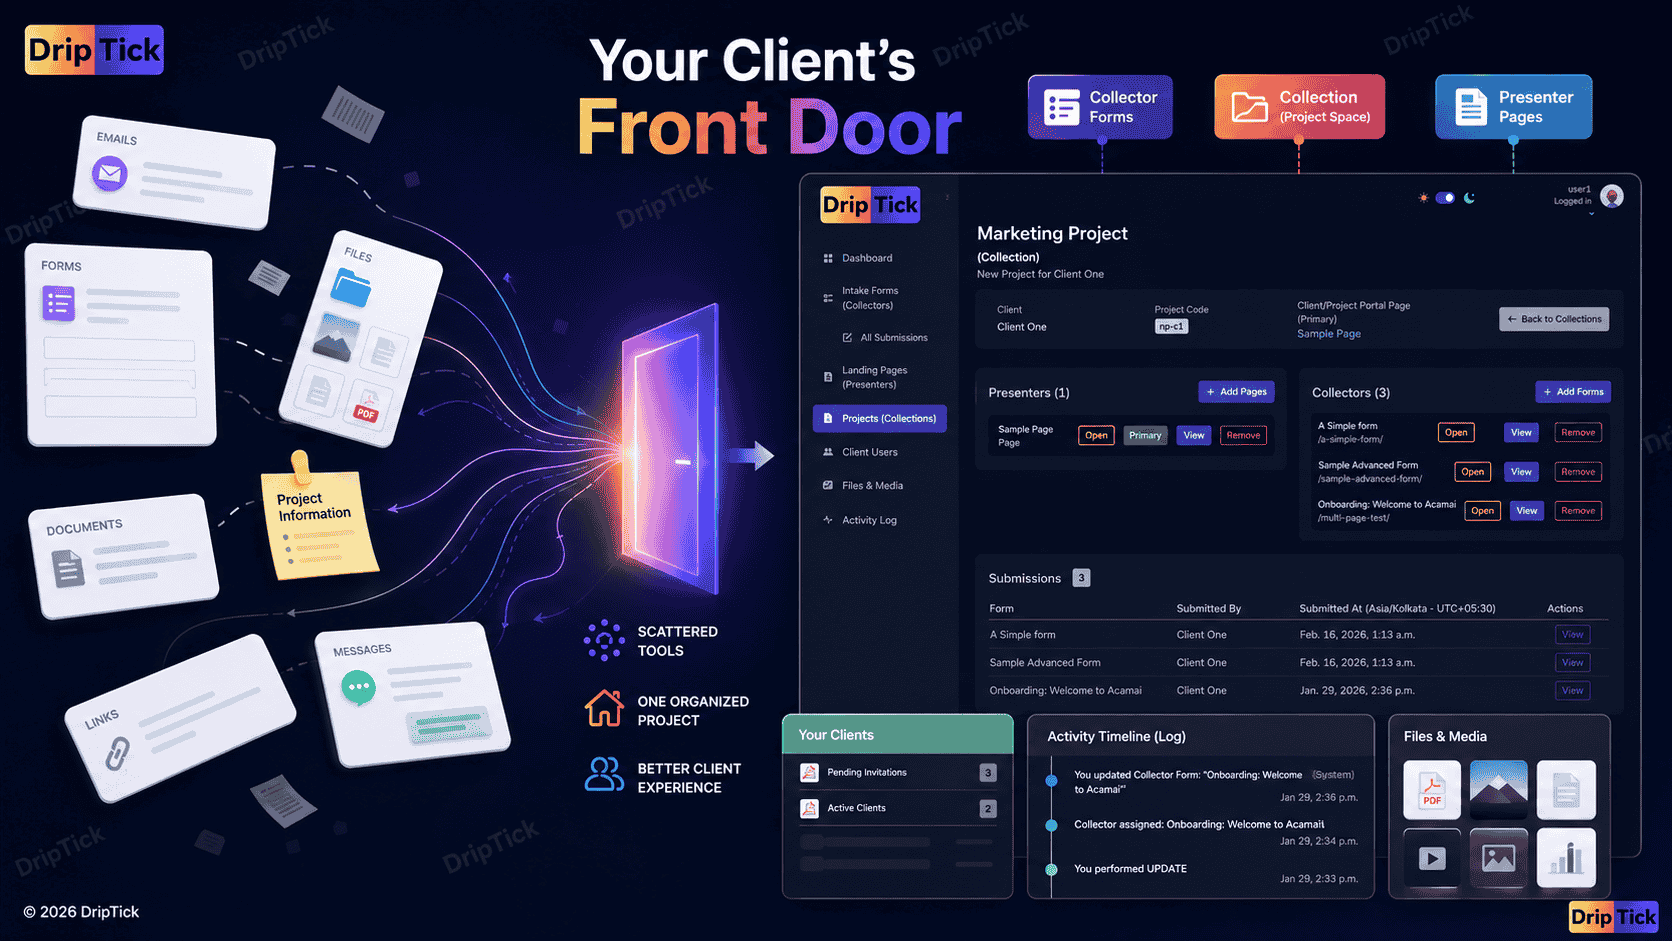
A central client-facing space can make this considerably easier.
Depending on your business, that could be a client portal, project workspace, branded project page or another organized client hub.
The terminology varies between products, but the underlying goal is the same:
Give the client one obvious place to interact with the project.
This is an area where current onboarding products and templates are increasingly moving beyond static checklists into client portals and branded onboarding flows.
Phase 6: Run the kickoff
The kickoff shouldn't be the first time everyone discovers what the project is supposed to accomplish.
Ideally, much of the basic information has already been collected.
That means the kickoff can focus on the things that actually benefit from a conversation.
Before the call
Confirm attendees
Send agenda
Confirm project goals
Review submitted information
Identify outstanding questions
Prepare anything the client needs to review
During the call
Confirm goals
Confirm priorities
Clarify outstanding questions
Confirm responsibilities
Confirm communication process
Confirm first milestone
Confirm immediate next actions
After the call
Record decisions
Update project information
Assign internal tasks
Send any required follow-up
Confirm the next milestone
Start delivery
A good kickoff should feel like the beginning of the project, not another round of information gathering.
The client onboarding checklist — quick version
If you want something you can actually copy into your workflow, use this version.
Before the client starts
Confirm the project and scope
Complete agreement/contract
Confirm payment terms
Confirm start date
Identify client stakeholders
Send a welcome message
Explain what happens next
Provide the first point of contact
Collect the essentials
Business information
Project goals
Target audience
Requirements
Brand information
Required files and assets
Relevant account/access requirements
Important dates
Communication preferences
Set expectations
Communication channel
Response expectations
Feedback process
Approval process
Project milestones
Client responsibilities
Scope boundaries
Revision/change process
Set up the client experience
Create the project/workspace
Provide relevant client-facing information
Assign required forms
Organize submitted information
Provide important resources
Make the next step obvious
Kickoff
Send agenda
Review project goals
Resolve outstanding questions
Confirm responsibilities
Confirm first milestone
Record decisions
Assign next actions
After kickoff
Follow up with decisions
Confirm outstanding information
Complete project setup
Begin the first milestone
Schedule the next important checkpoint
Not every client needs the same checklist
This is where many onboarding templates become counterproductive.
A 40-item checklist might be appropriate for a marketing agency managing a large retainer.
It would be ridiculous for a freelance designer creating a simple logo.
Your onboarding process should be proportional to the engagement.
A small project might need:
- Welcome
- Contract/payment confirmation
- Short intake form
- Asset collection
- Project timeline
- Kickoff
- First milestone
A larger engagement might need:
- Detailed discovery
- Multiple stakeholders
- Brand questionnaire
- Access requests
- Asset collection
- Communication protocol
- Approval workflow
- Multiple forms
- Project workspace
- Milestone planning
- Regular reviews
The checklist should adapt to the work.
Don't make every client complete a complicated process just because you can.
The 5 most common client onboarding mistakes
A checklist can solve many problems—but only if it's designed well.
Here are five mistakes worth avoiding.
1. Asking for everything at once
A 50-question form might technically contain everything you need.
It may also be the fastest way to make a client procrastinate.
Break complex intake into logical sections.
Ask questions when they're relevant.
2. Sending requests one email at a time
First the logo.
Then the brand guide.
Then the website login.
Then the project brief.
Then another question.
This creates unnecessary back-and-forth.
Where possible, consolidate related requests into a structured onboarding process.
3. Making the client repeat themselves
If you've already collected the client's business name, don't ask them for it again three days later.
A good onboarding system should turn submitted information into something your team can actually use.
4. Forgetting the client's experience
It's easy to design onboarding entirely around what you need.
But the client experiences every request.
Ask:
"Would this process make sense if I were the client?"
That's often enough to identify unnecessary friction.
5. Treating the checklist as the system
A checklist tells you what needs to happen.
It doesn't necessarily determine how the client experiences it.
That's an important distinction.
Checklist vs. onboarding system: what's the difference?
A checklist might say:
☐ Collect brand assets
An onboarding system asks:
How will the client provide them?
A checklist might say:
☐ Collect project requirements
An onboarding system asks:
How will we gather them without making the client answer 30 unrelated questions?
A checklist might say:
☐ Send project information
An onboarding system asks:
Where will the client find that information later?
This is the difference between documenting a process and designing an experience.
And that's where forms, client-facing pages and project workspaces become useful.
Turning the checklist into a repeatable workflow
Once you've created your checklist, the next step is to stop rebuilding it manually for every client.
For example:
New website client
Welcome
↓
Business & project information
↓
Brand & content
↓
Asset collection
↓
Project setup
↓
Kickoff
↓
First milestone
That's a workflow.
You can then adapt it for other services.
Branding client
Welcome
↓
Business discovery
↓
Brand questionnaire
↓
Visual references
↓
Asset collection
↓
Kickoff
↓
Brand direction
Or:
Coaching client
Welcome
↓
Goals & background
↓
Assessment
↓
Preferences
↓
Resources
↓
First session
The exact questions change.
The underlying structure doesn't have to.
Where forms fit into the onboarding checklist
A form is useful when you need the client to provide structured information.
For example:
Business information
Project goals
Target audience
Requirements
Brand information
File uploads
Instead of asking for those items individually over email, you can create an onboarding form.
For more complex engagements, a multi-step form can separate the experience into sections.
For example:
Step 1 — About You
Step 2 — About Your Business
Step 3 — About the Project
Step 4 — Requirements
Step 5 — Assets
This isn't about making the form look sophisticated.
It's about making the information-gathering process easier to complete and easier to manage.
Where client-facing pages fit
Not everything belongs in a form.
Some information should simply be presented to the client.
For example:
- Welcome instructions
- Project timeline
- What happens next
- Important resources
- Contact information
- Project guidelines
- Reporting
- Links to relevant forms
That's where a client-facing page can be more appropriate than another questionnaire.
The client should be able to read, understand and act without submitting anything.
Where the project workspace fits
Finally, you need somewhere to connect everything.
Think about the difference between:
“Here's your form.”
and:
“Here's your project.”
The second model gives you somewhere to organize:
- the client
- project information
- forms
- submitted information
- client-facing pages
- project activity
- relevant resources
For businesses managing multiple clients, that distinction becomes increasingly important.
The goal isn't to create another place for information to live.
It's to create one place where the relevant pieces of the client engagement make sense together.
A better way to think about client onboarding
A checklist is not the destination.
It's the blueprint.
The actual experience should feel something like this:
1. Welcome me.
I know I've been noticed and the project is underway.
2. Tell me what happens next.
I don't have to guess.
3. Ask me for what you need.
But don't make me answer unnecessary questions.
4. Make it easy to provide information.
Give me structure when the information is complex.
5. Show me where things belong.
I shouldn't have to search through emails.
6. Keep me informed.
I know what is happening and what I need to do.
7. Start the actual work.
The kickoff should move the project forward—not uncover basic information that should have been collected earlier.
That's what a good client onboarding experience feels like.
Turn your checklist into a client experience
You don't need to implement everything at once.
Start with your current onboarding process.
Write down every step you currently take between:
"The client said yes."
and:
"We're ready to start the work."
Then ask three questions about every step:
Is this necessary?
If not, remove it.
Can this be standardized?
If yes, turn it into part of your repeatable process.
Can this be made easier for the client?
If yes, redesign the interaction.
You may discover that the biggest improvement isn't another automation.
It might simply be:
- one structured intake instead of five emails
- one clear project page instead of scattered links
- one workspace instead of information spread across multiple tools
- one repeatable process instead of rebuilding onboarding from memory
Final client onboarding checklist
Before considering a new client fully onboarded, you should be able to answer yes to these questions:
Agreement & setup
Is the scope confirmed?
Are payment terms clear?
Is the start date confirmed?
Do we know who is involved?
Information
Do we have the information needed to begin?
Do we have the required assets?
Do we have the necessary access?
Have we avoided asking for unnecessary information?
Expectations
Does the client know what happens next?
Are communication expectations clear?
Is the approval process clear?
Are milestones and responsibilities understood?
Experience
Does the client know where to go?
Are their forms and resources easy to find?
Is project information organized?
Is the next action obvious?
Kickoff
Have outstanding questions been resolved?
Are responsibilities clear?
Is the first milestone confirmed?
Can the team actually begin the work?
If you can answer yes to those questions, you probably don't need a more complicated onboarding process.
You need a consistent one.
The real goal of client onboarding
A client onboarding checklist isn't there to make your business look organized on paper.
It's there to make the client experience predictable, clear and easy to navigate.
The best onboarding processes don't make clients feel like they're completing administrative tasks.
They make clients feel like they're moving forward.
So start with the checklist.
Remove what isn't necessary.
Structure what is.
Make the client's next step obvious.
Then turn the process into something you can repeat for every new engagement.
Because the ultimate goal isn't simply to onboard clients faster.
It's to make every new client think:
"These people know what they're doing."
And that's a pretty good place to begin a client relationship.
Build a better client onboarding experience with DripTick.
Bring structured forms, client-facing pages and project workspaces together in one place.
Start free with DripTick.