 DripTick
Most professionals and agencies think onboarding starts with a form.
It Does Not!
It’s the first real experience your client has after saying “yes".
What happens next shapes how they see your business.
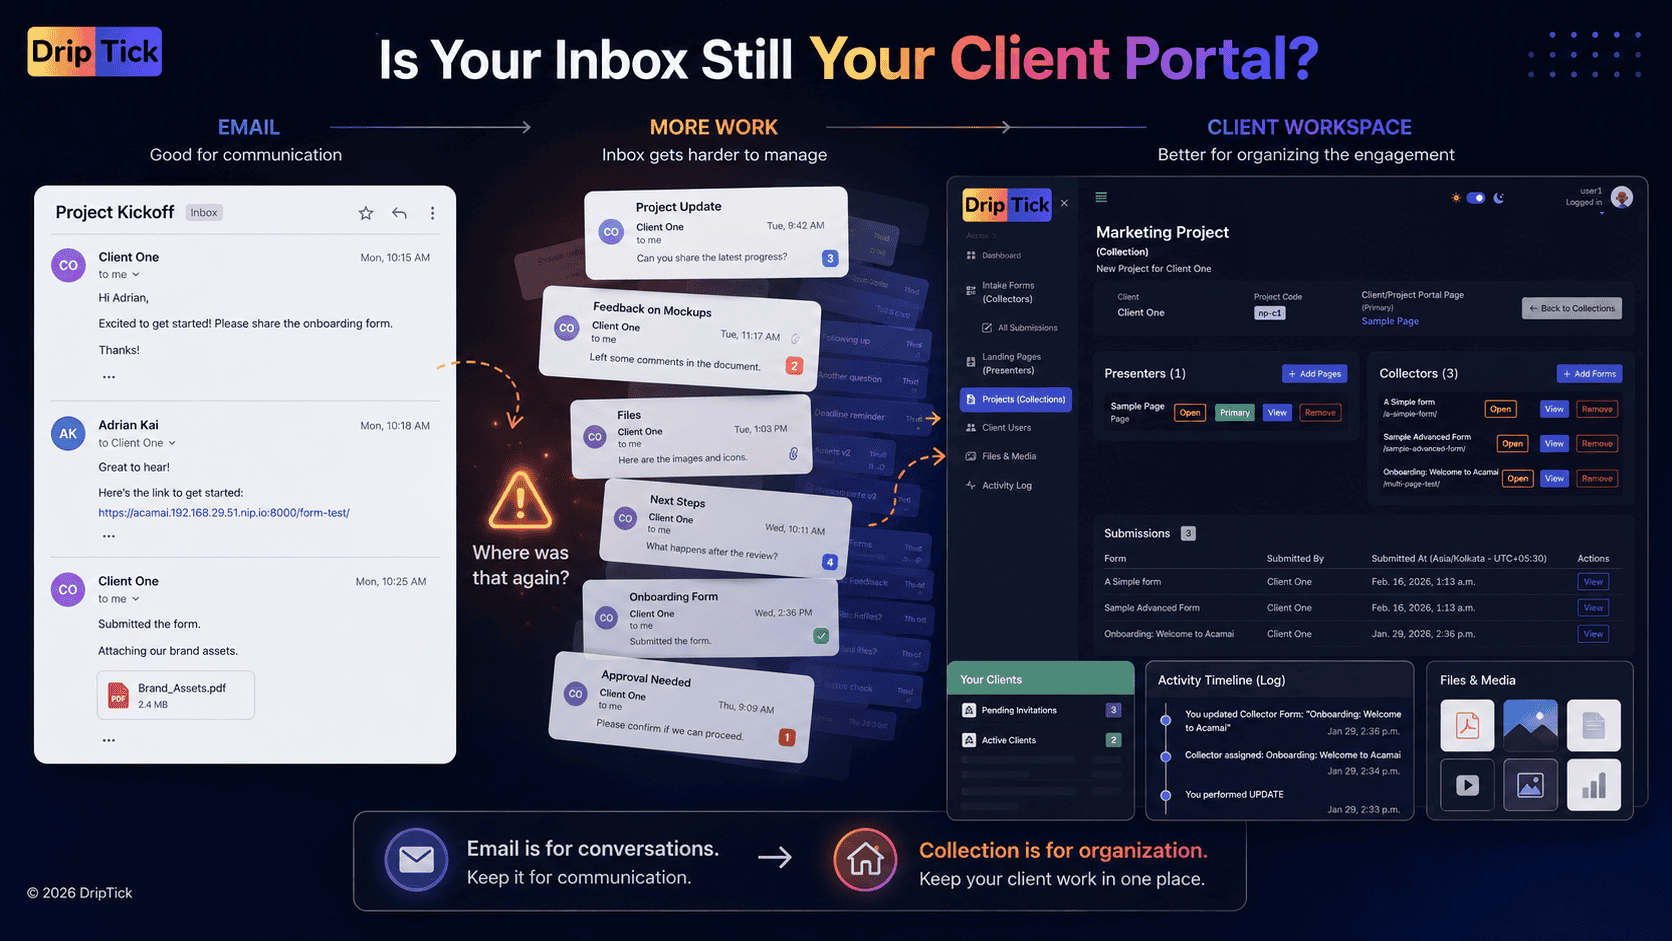
If the first few days involve a welcome email, a Google Form, a request for files, another email asking for something that was missed, a separate link to a document, and a few messages asking:
"Did you get my email?"- Frustrated Email Subject
The work may be moving forward — but the experience doesn't feel particularly premium.
And that's the frustrating part.
You may be delivering excellent work. You may be an expert at what you do. But your client experiences your process before they experience your expertise.
From the client’s perspective?
It doesn’t feel like a premium service.
It feels… disorganized.
A better client onboarding process doesn't necessarily mean adding more automation or building a complicated system.
It means creating a clear path from:
"We've agreed to work together."
to:
"I know exactly what happens next."
The problem isn’t your skill.
The problem is your system.
Modern clients expect:
- Clarity
- Structure
- Guidance
- A seamless experience
And most freelancers, professionals and businesses are still stitching together:
Google Forms + Email + Drive + Notion
That’s not a system.
That’s survival.
🧠What makes a client onboarding experience feel premium?
A premium onboarding experience isn't about making everything look expensive.
It's about making the client feel:
- welcomed
- informed
- guided
- confident
- respected
- clear about what happens next
That usually comes down to five things.
1. Clear expectations
The client should understand what happens after they sign up.
2. The right information, collected at the right time
You need enough information to begin the work — but you don't need to interrogate the client with a 40-question form on day one.
3. A guided process
Complex information should be broken into manageable steps.
4. One obvious place to go
The client shouldn't have to remember which link contains the form, which email contains the project information, and where they uploaded their files.
5. A process that feels intentional
The experience should look like your process, not a collection of unrelated tools.
That's the difference between simply collecting information and designing a client onboarding experience.
A real onboarding system isn’t a single tool.
It’s a connected experience:
- A guided intake process (not a static form)
- Smart forms that adapt based on answers
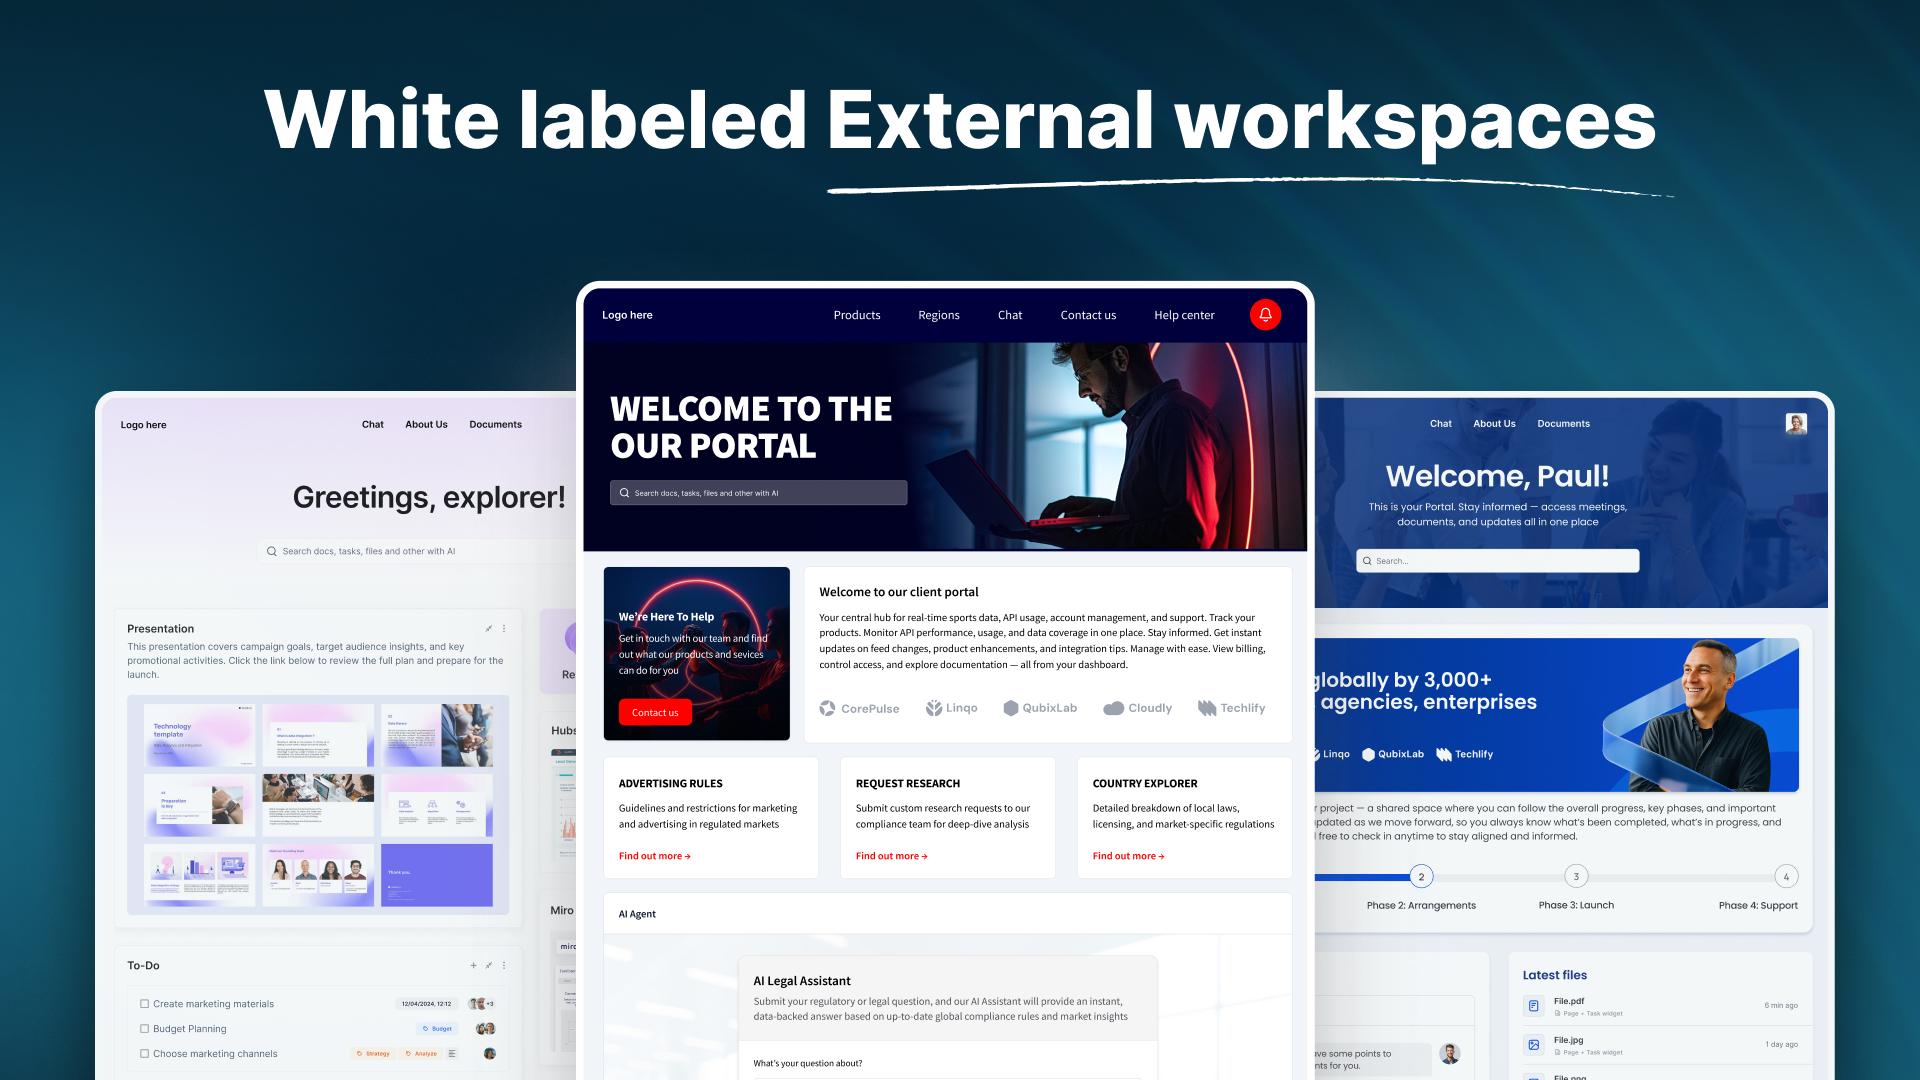
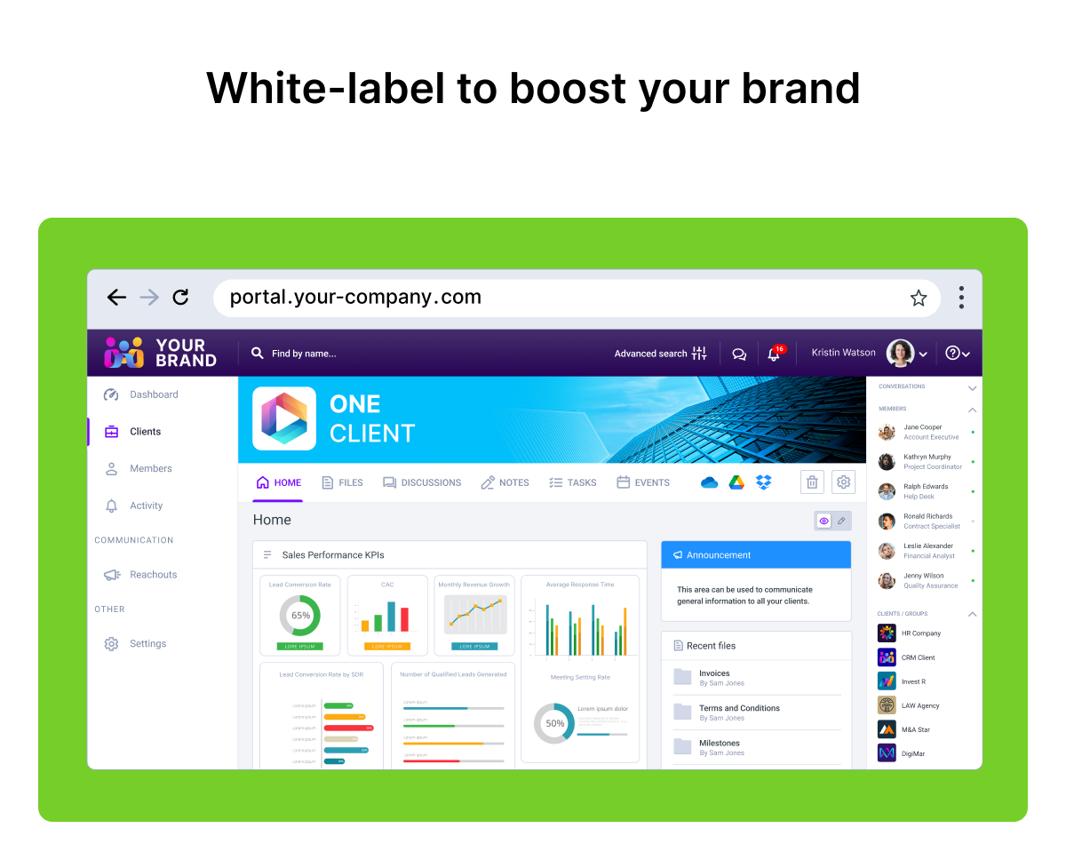
- A client-facing portal (not scattered links)
- A central workspace for all submissions and activity
- Clear visibility for both you and your client
This is where most tools fail.
They solve one piece.
Not the experience.
⚙️ From Forms → Structured Client Journeys (Collector)
The problem with "just send them a form"
Forms are useful.
The problem is what happens around the form.
A typical onboarding process might look something like this:
Email → form → email → file request → Google Drive → follow-up → another form → kickoff call → more questions
Nothing is necessarily wrong with any individual tool.
The problem is the fragmentation.
The client has to keep track of several places, while you have to keep track of whether they have completed each part.
This is why client onboarding often turns into an email-chasing exercise.
Recent onboarding guides and software products increasingly focus on exactly this problem: bringing intake, information, assets, project context and client-facing access into a more coherent workflow.
The better question isn't:
"Which form should I send?"
It's:
"What should my client experience from the moment they start working with me?"
Instead of sending a flat form…
You guide your client through a structured journey.
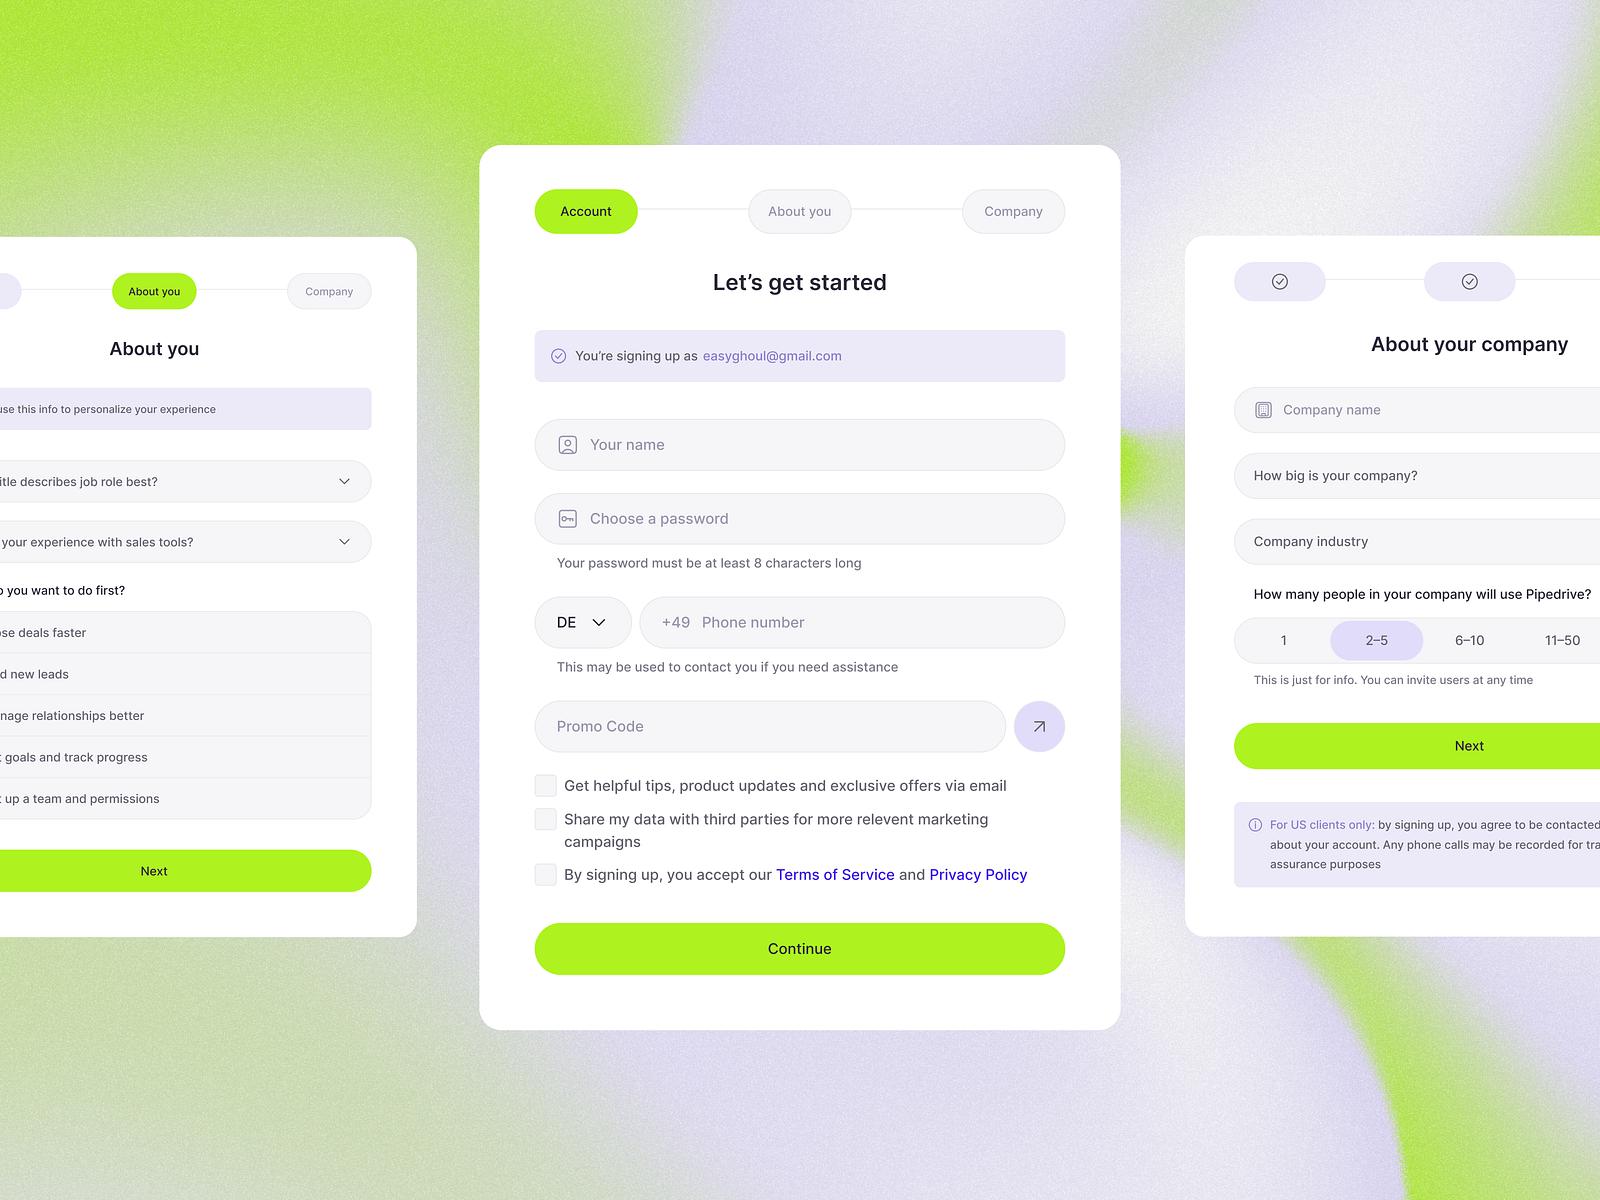
- Multi-step onboarding flows
- Conditional questions
- Logic-based progression
- Clean, distraction-free experience
This does two powerful things:
- You collect better information
- Your client feels guided, not overwhelmed
And suddenly…
You’re not “collecting data”
You’re running a process.
A better client onboarding process
You don't need a complicated 30-day onboarding program to make the experience better.
For many freelancers, consultants, coaches and agencies, a simple five-stage process is enough.
Step 1: Welcome the client and set expectations
The first interaction after a client commits should answer some basic questions:
- What happens next?
- What do I need to provide?
- When do I need to provide it?
- Who should I contact?
- When does the actual work begin?
A simple welcome message can make a surprisingly big difference.
Instead of:
"Thanks! Please fill out this form."
try giving the client a short roadmap.
For example:
Welcome → Tell us about your business → Provide project details → Review the project information → Kickoff
Now the client understands the journey before they begin it.
Step 2: Collect the information you actually need
This is where an intake form becomes valuable.
But a good client intake form shouldn't simply be a giant questionnaire.
Think about the information your work actually requires.
For a website project, that might include:
Business information
- Business name
- Website
- Industry
- Location
- Main contact
Project goals
- What are you trying to achieve?
- Who is the website for?
- What does success look like?
Brand information
- Existing brand guidelines
- Logo
- Colours
- Typography
- Examples of websites they like
Content and assets
- Existing copy
- Images
- Documents
- Product information
Project requirements
- Required pages
- Integrations
- Features
- Important deadlines
Instead of asking everything at once, organize the information into logical sections.
This is where DripTick Collector becomes useful.
Build a guided intake experience with Collector
Collector is DripTick's form and information-collection engine.
It can be used for something as simple as a contact or enquiry form, but it can also handle more structured client intake.
For more involved onboarding, you can build a multi-step form that breaks the process into manageable sections.
Instead of presenting a client with one intimidating page containing dozens of questions, you can structure the experience around stages such as:
Your Information → Project Details → Requirements → Declaration
This changes the psychology of the interaction.
From:
"I have 30 questions to answer."- The client isn't thinking
To:
"I'm just completing this section."- They're thinking
That can make complex information collection feel considerably easier.
Step 3: Make complex intake easier to complete
Not every client needs a multi-step form.
Sometimes a simple form is exactly what you need.
But when the information becomes more involved, structure matters.
For example, a creative agency onboarding a new branding client might need to collect:
- company information
- target audience
- competitors
- brand personality
- existing assets
- preferred visual direction
- business goals
- project requirements
Putting all of those questions into one long form creates friction.
A better approach is to group related questions and guide the client through them.
This is where multi-step forms, conditional questions and structured layouts can turn a questionnaire into an actual onboarding flow.
And importantly, the client doesn't need to understand the technology behind it.
They simply experience:
"This is easy to follow."- The Respondent/Client
That's the outcome that matters.
Step 4: Give clients a clear place to find things
Collecting information is only one part of onboarding.
The next problem is everything that happens after the information has been collected.
Where does the client go to see:
- project information?
- important links?
- onboarding instructions?
- forms?
- reports?
- resources?
- updates?
If the answer is:
"I'll find the email and send it to you."
you've created another opportunity for the email chase to begin.
This is where a client-facing page can help.
Create branded client-facing pages with Presenter
Presenter is DripTick's visual page builder.
It lets you create branded, interactive pages rather than relying entirely on generic documents and disconnected links.
A Presenter page could be used for things such as:
- a client welcome page
- project information
- onboarding instructions
- proposals or presentations
- resource pages
- reporting pages
- interactive client dashboards
- branded landing pages
The important distinction is:
Presenter creates the client-facing experience.
It isn't the client/project workspace itself.
That's the job of Collection.
🖥 From Links → Branded Client Portals (Presenter)
Now imagine this!
- Form link
- Drive folder
- Notion doc
- Email threads
You send one link - A branded client portal.
Inside it:
- Their onboarding forms
- Their project pages
- Their reports
- Their updates
No confusion. No clutter.
Just clarity.
Step 5: Keep the project organized behind the scenes
Now we reach the part that is often missing from a collection of disconnected tools.
You have:
- the client
- their information
- their forms
- their pages
- their submissions
- their project activity
They need to remain connected.
That's where Collection comes in.
Bring the project together with Collection
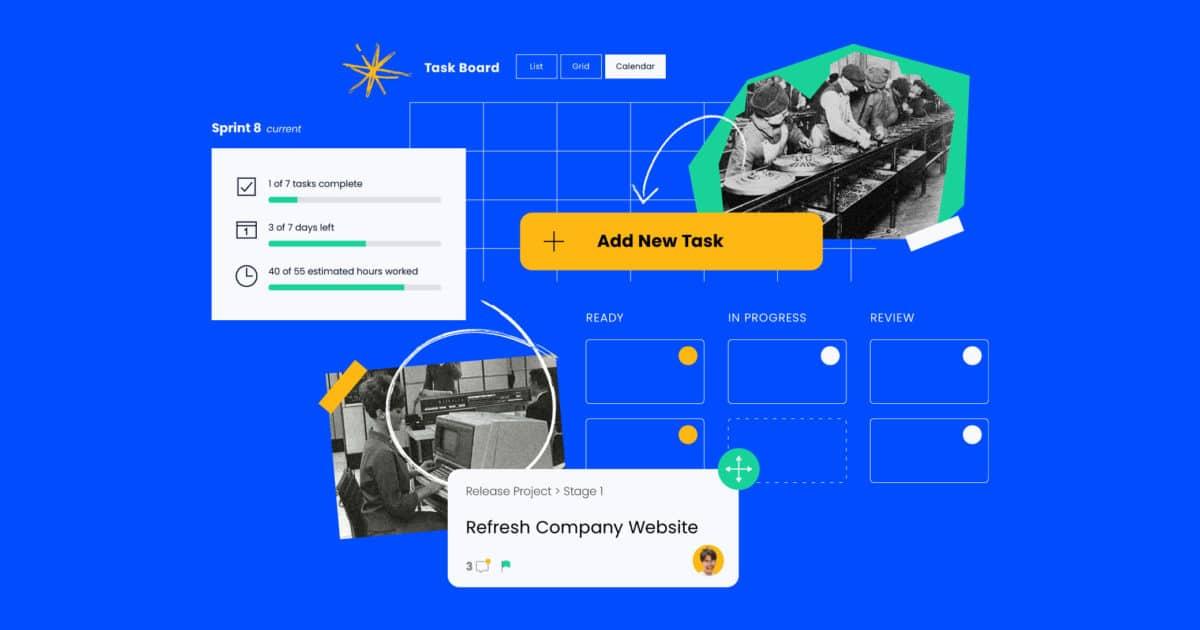
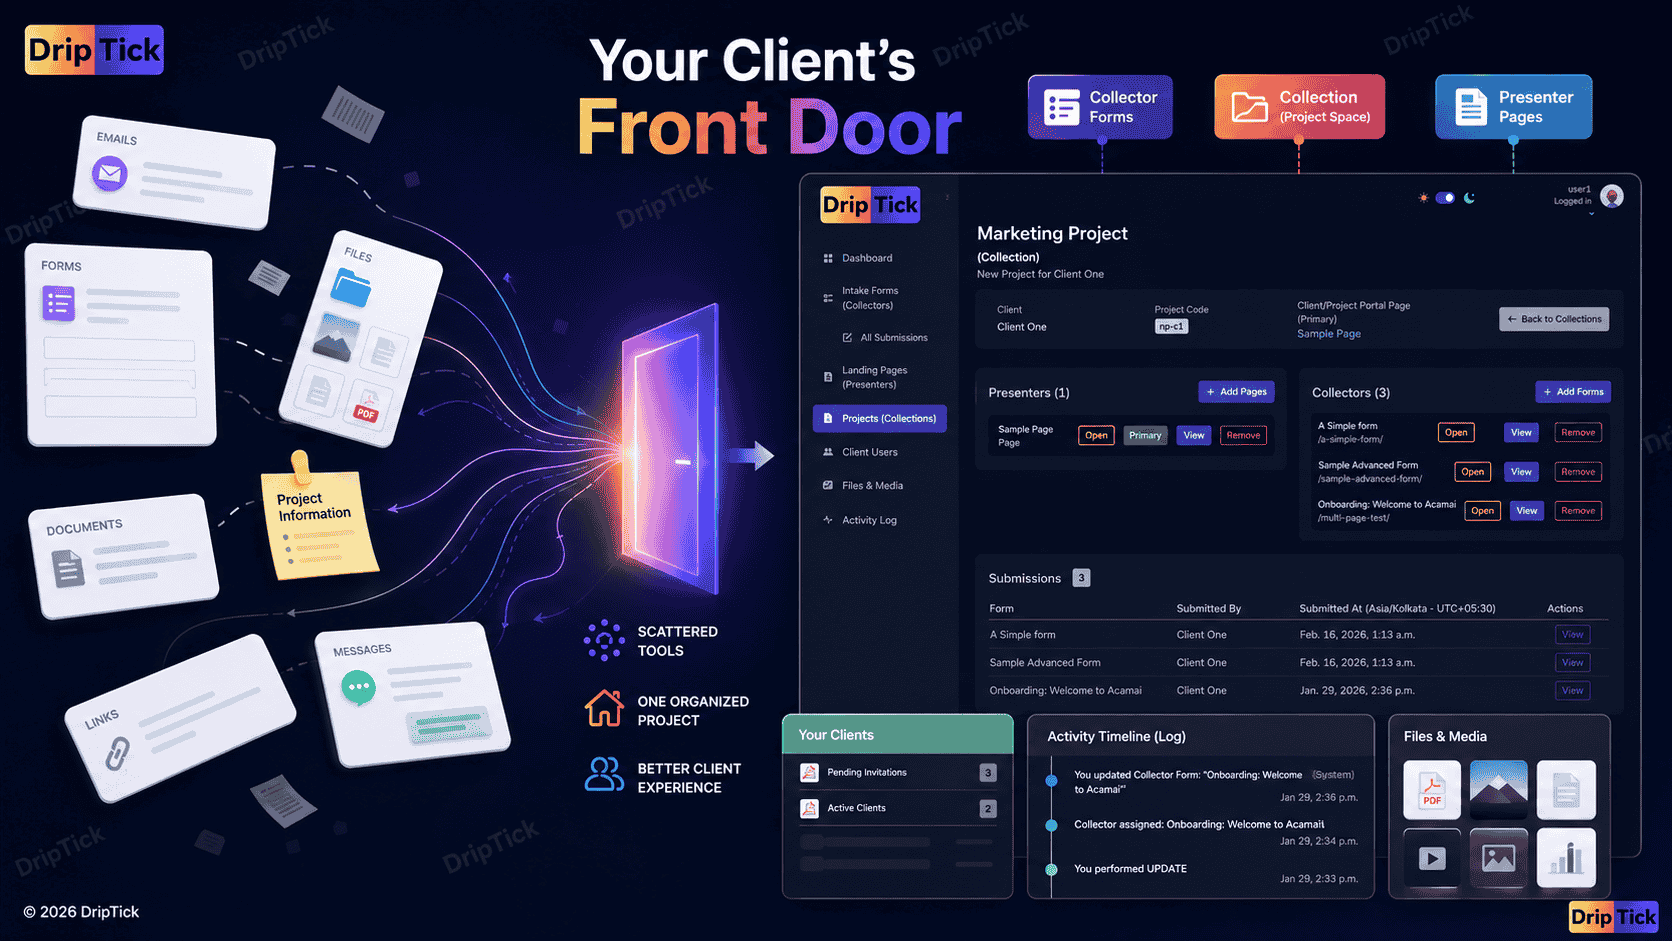
A Collection is a client/project workspace that brings the relevant pieces of an engagement together.
For example, a website-design project could contain:
Presenters
- Welcome Page
- Project Information
- Reporting Page
Collectors
- Website Discovery Form
- Brand Questionnaire
- Content Requirements
- Final Approval Form
Submissions
The information submitted through those forms.
Client
The client associated with the project.
Now your onboarding isn't just:
"Here is a form."
It's a connected client experience.
🧩 From Chaos → Organized Workspaces (Collection)
This is where everything comes together.
Each client gets:
- Their own workspace
- Their own forms
- Their own pages
- Their own activity history
Nothing overlaps. Nothing gets lost.
And for you?
You finally feel in control.
A practical example: onboarding a new website-design client
Let's make this concrete.
Imagine you're a freelance web designer.
A new client signs your proposal.
Instead of sending five separate emails, your process could look like this.
1. Welcome
Send the client one starting point.
The welcome experience explains:
"Welcome. Here's what we'll need from you before we begin." - Straightforward, welcoming profesionally
2. Collector: Business & Project Information
The client completes a structured form containing:
- business details
- website
- target audience
- project goals
- competitors
- required pages
- important dates
3. Collector: Brand & Content
A second form collects:
- logo
- brand guidelines
- colours
- copy
- images
- other assets
For a more complex questionnaire, use a multi-step Collector.
4. Presenter: Client Welcome Page
The client receives a branded page containing:
- project overview
- what happens next
- important dates
- contact information
- useful resources
Instead of sending another document, you give them a page designed specifically for the engagement.
5. Collection: Project Workspace
The project brings everything together:
Client → Presenters → Collectors → Submissions
Now both sides have a clearer understanding of where the project stands.
The result?
The client doesn't need to remember:
"Which email had that link again?"
And you don't need to keep asking:
"Have you completed the form?"
The process has a structure.
That's the real value of a client onboarding system.
A simple client onboarding checklist
You can use this* as a starting point for almost any service business.
Before the client starts
Collect the essentials
Set up the client experience
Before work begins
* The exact checklist will vary by business.
What should you automate, and, what should stay personal?
A good client onboarding system shouldn't make your business feel robotic.
Some parts should be standardized.
Others should remain personal.
Good candidates for a repeatable system
- Information collection
- File requests
- Project information
- Standard instructions
- Client resources
- Form assignments
- Submission organization
- Repeated onboarding steps
Keep these personal
- Welcome messages
- Important project conversations
- Strategy discussions
- Feedback
- Difficult decisions
- Relationship-building
The goal isn't to remove yourself from the onboarding experience.
It's to stop spending your time managing the mechanics of it.
There's a temptation to think a premium client experience requires:
- a huge technology stack
- complicated automations
- dozens of integrations
- elaborate workflows
It doesn't.
Sometimes premium simply means:
Everything is where the client expects it to be.
They know what to do.
They know where to go.
They know what happens next.
And you don't have to chase them for every missing detail.
The goal isn't fewer client interactions. It's better interactions.
This is the distinction worth remembering.
A good onboarding system doesn't eliminate communication.
It removes the unnecessary communication.
Instead of spending your time asking:
"Did you receive the form?"
you can spend it asking:
"Now that we've got the information, what should we build together?"
That's a much better use of everyone's time.
And it creates a better first impression of your business.
Your onboarding process is part of your product
If you're a freelancer, professional, consultant, coach, designer or agency, the service you sell isn't experienced only when you deliver the final result.
It's experienced from the beginning.
The emails.
The forms.
The pages.
The information you request.
The way you organize the project.
The clarity of the next step.
All of those interactions tell your client something about how you work.
A messy process can make excellent work feel harder than it needs to be.
A thoughtful process can make the same work feel significantly more professional.
So don't ask only:
"What information do I need from my client?"
Ask:
"What experience do I want my client to have while we're getting there?"
That's where better onboarding begins.
Build a better client onboarding experience
DripTick brings information collection, client-facing pages and project workspaces together so professionals, freelancers, consultants, agencies and service businesses can create more structured client experiences.
Use Collector to gather the information you need.
Use Presenter to create branded pages and client-facing experiences.
Use Collection to organize the client and project around them.
Start with the part of your onboarding process that causes the most friction—and build from there.
Start free with DripTick.
📈 Why This Changes Your Business (Not Just Workflow)
When your onboarding is structured:
- Clients trust you faster
- You reduce back-and-forth
- Projects start smoother
- You look more premium
- You justify higher pricing
Most freelancers try to grow by:
- Scrambling for more clients
- Lowering prices
- Working more
But the real leverage?
Better systems.
🚀 The Shift You Need to Make
Stop thinking:
“I need a form”
Start thinking:
“I need a client experience”
Because that’s what clients remember.
If you’re serious about improving how your business feels to clients…
Start by fixing how it starts.
Because onboarding isn’t admin work.
It’s positioning.